How to run DNN modules with CUDA backend support on Windows platform?
Overview
In 2019, a commit was merged that added the option to use the CUDA backend for inference in OpenCV’s DNN module, resulting in faster inference on Nvidia GPUs. If you wish to use this CUDA backend with OpenCV for Unity, it is necessary to build and set up OpenCV as a dynamic library on your own. This article will provide guidance on the process.Steps
- Build the OpenCV library with the OPENCV_DNN_CUDA flag enabled.
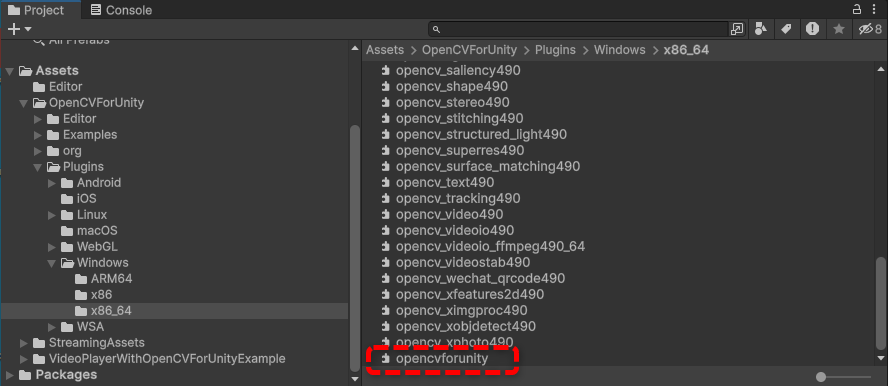
- Copy the built dll files to the Plugins folder.
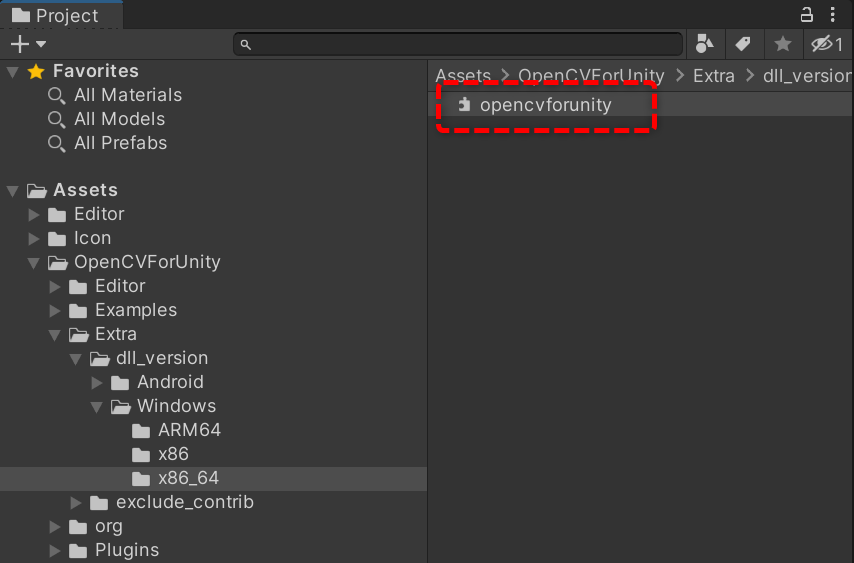
- Replace the opencvforunity.dll file in the Extra package with opencvforunity.dll in the Plugins folder.
- To enable the CUDA backend, change the code as follows.
net.setPreferableBackend( Dnn.DNN_BACKEND_CUDA);
net.setPreferableTarget( Dnn.DNN_TARGET_CUDA);
Please refer to the article below for instructions on how to build OpenCV with OPENCV_DNN_CUDA enabled.
https://learnopencv.com/how-to-use-opencv-dnn-module-with-nvidia-gpu-on-windows/ https://www.jamesbowley.co.uk/qmd/opencv_cuda_python_windows.html
https://medium.com/geekculture/setup-opencv-dnn-module-with-cuda-backend-support-for-windows-7f1856691da3
Build with OPENCV_EXTRA_MODULES_PATH and BUILD_SHARED_LIBS enabled. In addition, it is recommended that you download and build the same revision of the source as the OpenCV git link provided in the ReadMe.pdf.
 OPENCV_EXTRA_MODULES_PATH:PATH=C:/Users/xxxxx/opencv_contrib/modules
BUILD_SHARED_LIBS:BOOL=ON 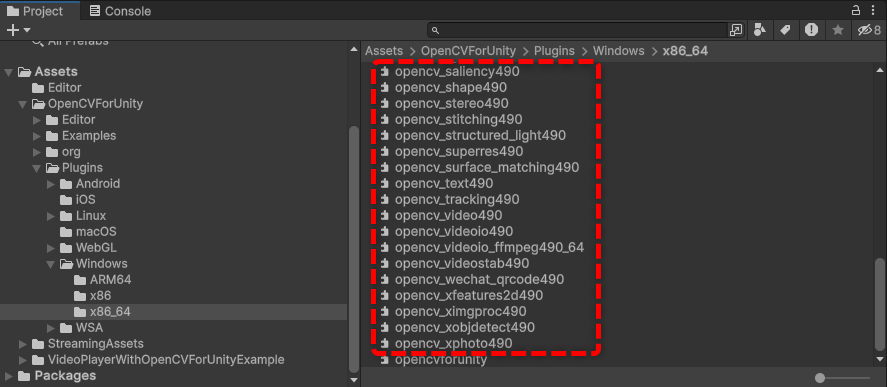
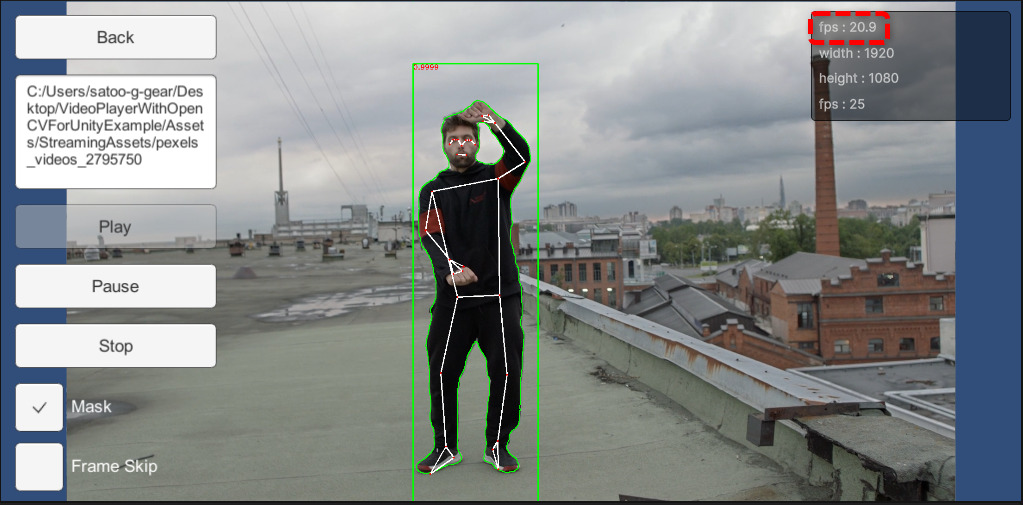
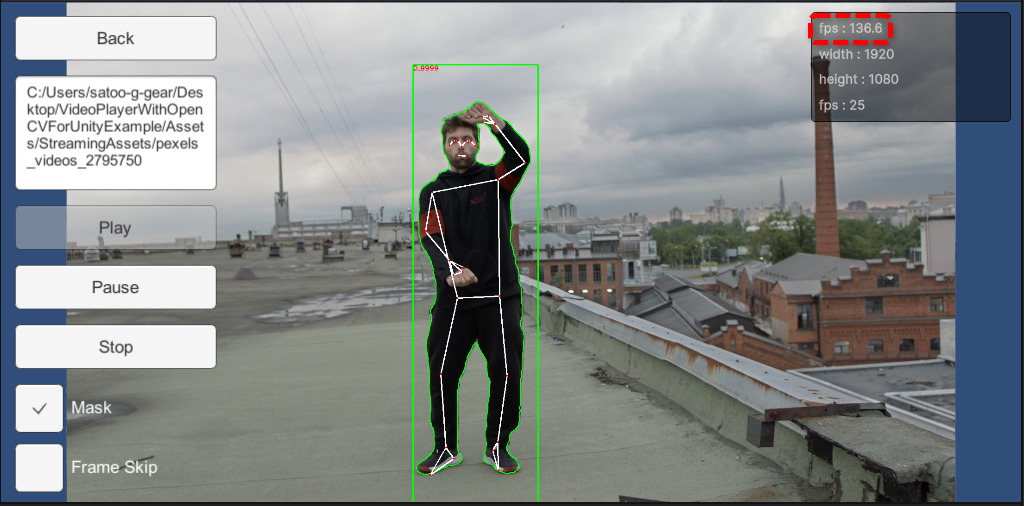
Result